
ge self-cleaning oven manual
GE self-cleaning ovens offer a convenient and efficient way to maintain a clean kitchen by eliminating manual scrubbing, using high heat to burn off food residue.
1.1 Overview of the Self-Cleaning Feature
GE self-cleaning ovens utilize high temperatures, reaching up to 880°F, to decompose food residue into ash. This automated process eliminates the need for manual scrubbing, making maintenance easier. The oven door locks during cleaning to ensure safety, and the cycle is designed to handle tough grime efficiently. This feature is a convenient solution for homeowners seeking a low-maintenance cooking experience.
1.2 Benefits of Using a Self-Cleaning Oven
GE self-cleaning ovens offer exceptional convenience, eliminating the need for manual scrubbing and harsh chemicals. The high-temperature cycle efficiently removes tough food residue, saving time and effort. This feature promotes a cleaner, healthier kitchen environment while reducing the need for abrasive cleaners. Additionally, it ensures consistent oven performance and enhances cooking results, making it a practical choice for modern households seeking effortless maintenance;

Key Features of GE Self-Cleaning Ovens
GE self-cleaning ovens feature high-temperature cycles, automatic door locking, and advanced safety mechanisms. These elements ensure efficient cleaning, consistent performance, and a modern, user-friendly design.
2.1 High-Temperature Self-Cleaning Cycle
The high-temperature self-cleaning cycle is a standout feature, reaching up to 880°F to incinerate food residue into ash. This process eliminates manual scrubbing, making maintenance effortless. Proper ventilation is essential during this cycle to prevent fumes. Safety features ensure the oven door remains locked until cooled, preventing accidents. This advanced cleaning method is both efficient and time-saving, delivering a spotless oven interior with minimal effort required from the user.
2.2 Automatic Door Locking System
The automatic door locking system ensures safety during the self-cleaning cycle by securely locking the oven door. This feature prevents accidental opening and potential burns from high temperatures. The door remains locked until the oven cools down, guaranteeing a safe environment for users. This advanced mechanism is designed to protect both the user and the appliance, making the self-cleaning process worry-free and efficient.
2.3 Safety Features During the Cleaning Cycle
GE self-cleaning ovens include safety features like automatic door locking, ensuring the door stays closed during the cycle. Proper ventilation is crucial to prevent fumes. Avoid using abrasive cleaners to protect the finish. Keep children away due to high temperatures. Ensure the oven light bulb cover is in place and the light is off to avoid hazards.

Preparing for the Self-Cleaning Cycle
Remove racks, pans, and utensils. Wipe loose food particles and ensure the oven door is tightly closed. Follow manual guidelines for a safe cleaning process.
3.1 Removing Oven Racks and Accessories
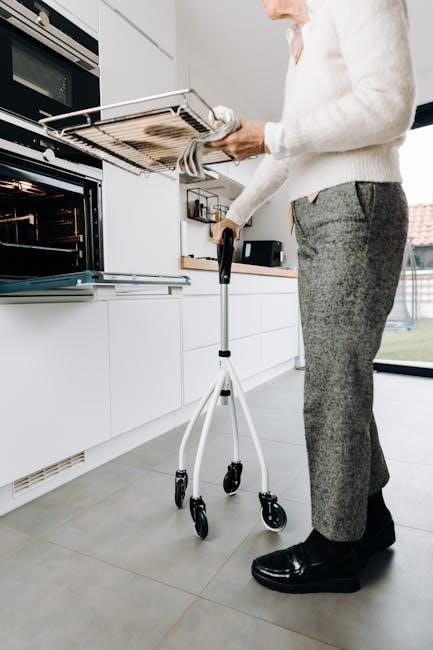
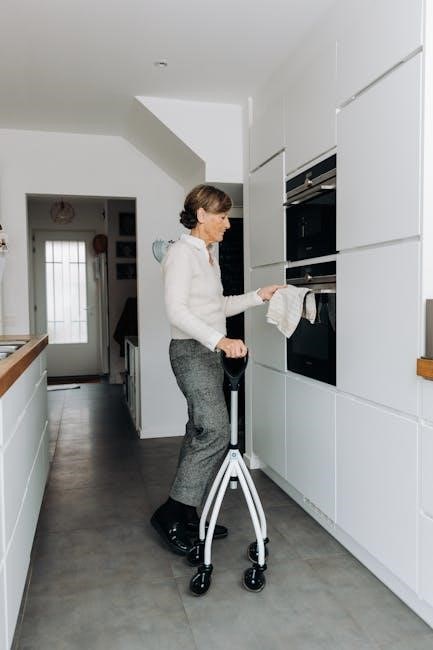
Before starting the self-cleaning cycle, remove all racks, pans, and utensils from the oven. This prevents damage to accessories and ensures proper cleaning. Check your manual for specific model instructions. Some racks may stay, but most should be taken out. Clean accessories separately and store them safely to avoid scratches. This step ensures the oven can heat evenly and effectively during the cycle.
3.2 Wipe Out Loose Food Particles
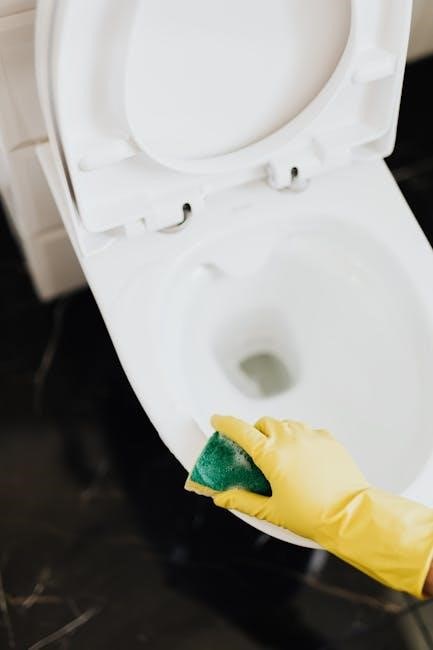
Before initiating the self-cleaning cycle, use a damp cloth to remove loose food particles from the oven walls and floor. This prevents smoke and odors during the high-heat cleaning process. Avoid scrubbing or using abrasive cleaners, as they can damage the oven’s interior. For tougher spots, lightly wipe with a non-abrasive sponge. Ensure the oven is cool before cleaning to prevent burns. This step ensures a more efficient and safer cleaning experience.
3.4 Ensuring the Oven Door is Closed Properly
Properly closing the oven door is essential for the self-cleaning cycle to function safely and efficiently. Ensure the door is fully latched and aligned correctly before starting. The automatic locking system will engage once the cycle begins, preventing the door from being opened until the oven cools. Always double-check the door’s position to avoid issues during the high-heat cleaning process. This step is critical for both safety and effective cleaning performance.
Using the Self-Cleaning Feature
Using the self-cleaning feature on your GE oven is straightforward. Simply start the cycle, set the temperature and timer, and let the oven handle the rest automatically.
4.1 Step-by-Step Instructions for Starting the Cycle
Step 1: Ensure the oven is empty, with racks and accessories removed.
Step 2: Wipe away loose food particles using a damp cloth.
Step 3: Close the oven door and verify it is properly sealed.
Step 4: Set the self-cleaning controls according to your oven’s model.
Step 5: Select the desired cleaning time and temperature.
Step 6: Press Start to begin the cycle. The door will lock automatically.
Always refer to your GE oven’s manual for model-specific instructions.
4.2 Setting the Temperature and Timer
Step 1: Locate the temperature and timer controls on your GE oven’s control panel.
Step 2: Select the self-cleaning option and choose the desired temperature (usually preset between 800°F to 900°F).
Step 3: Set the timer based on the level of cleaning needed (2-4 hours typically recommended).
Step 4: Confirm your settings and press Start. The oven door will automatically lock once the cycle begins.
Always ensure the oven is empty and the door is closed properly before starting.
4.3 What to Expect During the Cleaning Process
During the self-cleaning cycle, the oven heats to high temperatures (around 880°F) to burn food residue into ash. The door locks automatically and remains closed throughout the cycle. Expect a strong odor and possible smoke as food particles decompose. The process typically takes 2-4 hours, depending on soil level. Once complete, let the oven cool before wiping away ash residue with a damp cloth.

Post-Cleaning Procedures
After the cycle, let the oven cool completely. Wipe away ash residue with a damp cloth and clean the oven door and window thoroughly.
5.1 Allowing the Oven to Cool Down
After the self-cleaning cycle, it’s crucial to let the oven cool down completely. This ensures safety and prevents damage to the oven’s components. The oven door may remain locked until it has cooled sufficiently. Avoid using fans to speed up the cooling process, as this could disrupt the oven’s natural cooling cycle. Allow at least 30 minutes to an hour for the oven to return to room temperature before proceeding with any further cleaning or maintenance tasks.
5.2 Wiping Away Residue with a Damp Cloth
Once the oven has cooled, use a damp cloth to wipe away the powdery residue left behind from the self-cleaning cycle. Avoid using abrasive cleaners or scrubbers, as they can damage the oven’s finish. A soft, damp cloth is sufficient to remove the residue effectively. For tougher spots, lightly dampen the cloth with warm water and gently wipe. This step ensures a clean and hygienic oven interior, ready for its next use.
5.3 Cleaning the Oven Door and Window
Clean the oven door and window after the self-cleaning cycle. Use a damp cloth to wipe away residue and streaks. For tougher stains, mix mild soap with warm water, dip a cloth, and gently scrub. Avoid abrasive cleaners or harsh chemicals, as they may damage the glass or door finish. Regular cleaning ensures clear visibility and maintains the oven’s appearance for optimal performance and safety.
Safety Instructions
Always ensure proper ventilation during the self-cleaning cycle to avoid fumes. Never use abrasive cleaners or harsh chemicals, as they can damage surfaces. Keep children away during cleaning.
6.1 Ventilation Requirements During Cleaning
Proper ventilation is essential during the self-cleaning cycle to prevent fumes from accumulating. Open windows or use a ventilation fan/hood to ensure air circulation. This helps remove odors and particles efficiently, ensuring a safe cleaning process. Avoid inhaling fumes by maintaining good airflow in your kitchen throughout the cycle.
6.2 Avoiding the Use of Abrasive Cleaners
Avoid using abrasive cleaners, as they can damage the oven’s finish or harm the enamel lining. Instead, rely on the self-cleaning cycle to break down food residue effectively. After the cycle, wipe away ash with a damp cloth for a smooth, mess-free surface. Always follow the manual’s guidelines to maintain your oven’s efficiency and safety.
6.3 Keeping Children Away During the Cycle
Always keep children away during the self-cleaning cycle due to high temperatures and potential hazards. The oven door locks automatically, but children may not understand the risks. Ensure adult supervision at all times and teach kids to stay away from the oven when it’s in use. This ensures a safe environment and prevents accidental injuries or burns during the cleaning process.
Maintenance Tips for Your GE Oven
Ensure children are kept at a safe distance during the self-cleaning cycle. The high heat and locked door can pose risks, so adult supervision is essential. Teach kids to avoid the oven area during cleaning to prevent accidents or burns. This precaution helps maintain a safe and secure environment while the oven cleans.
7.1 Regular Cleaning to Maintain Efficiency
Regular cleaning is essential to maintain your GE oven’s efficiency. Wipe spills immediately to prevent hardening. Use non-toxic cleaners for gentle yet effective cleaning. Avoid abrasive materials that may damage surfaces. Check the oven door alignment periodically to ensure proper sealing. For tougher residue, consider using the self-cleaning feature or steam cleaning option. Consistent upkeep prevents grime buildup, ensuring optimal performance and longevity of your appliance. Refer to the user manual for specific care instructions.
7.2 Checking and Replacing the Oven Light Bulb
Ensure your GE oven’s light bulb is functioning properly for visibility during cooking. Turn off the oven and let it cool before inspecting or replacing the bulb. Remove the bulb cover, typically held by screws, and replace the bulb with a compatible GE-recommended type. Clean the cover with a damp cloth and mild soap. Always refer to the user manual for specific instructions to avoid damage or safety hazards.
7.3 Ensuring Proper Door Alignment
Proper oven door alignment is crucial for safety and efficient operation. Ensure the door closes evenly and seals tightly to prevent heat loss. If misaligned, adjust the door hinges or alignment screws as described in the manual. Clean the door seals regularly to maintain a tight fit. Proper alignment ensures optimal heating performance and prevents damage during the self-cleaning cycle. Refer to your GE manual for specific adjustment instructions.
Troubleshooting Common Issues
Common issues include error codes, door locking problems, and unexpected odors. Refer to the manual for solutions, such as resetting the oven or checking for blockages in vents.
8.1 Oven Door Not Unlocking After Cleaning
If the oven door doesn’t unlock after the cleaning cycle, ensure it has cooled completely, as high heat can keep it locked. Resetting the circuit breaker may resolve the issue. If the problem persists, check for a faulty door lock mechanism, which may need professional attention. Always refer to the manual for specific guidance.
8.2 Error Codes During the Self-Cleaning Cycle
During the self-cleaning cycle, error codes like F30 or F31 may appear, indicating issues such as a faulty temperature sensor or malfunctioning door lock. Refer to your GE oven manual for specific code meanings. Restarting the oven or resetting the circuit breaker often resolves these issues. If the problem persists, contact GE customer support for further assistance or professional repair.
8.3 Unexpected Odors or Smoke
Unexpected odors or smoke during the self-cleaning cycle are typically caused by excessive food residue burning off. Ensure proper ventilation by opening windows or using a kitchen fan. Avoid using abrasive cleaners, as they can release harmful fumes. If smoke persists, turn off the oven and allow it to cool. For severe cases, consult the GE manual or contact customer support for guidance.

Alternatives to Self-Cleaning
Alternatives to self-cleaning include manual cleaning with non-toxic agents, professional services, or steam cleaning for a gentler approach, avoiding high-heat cycles and potential odors.
9.1 Manual Cleaning with Non-Toxic Agents
Manual cleaning with non-toxic agents offers a safer alternative to high-heat self-cleaning cycles. Use gentle cleaners or natural solutions like baking soda and water to scrub away grime. This method avoids harsh chemicals and is environmentally friendly. It’s ideal for maintaining the oven’s finish and ensuring a chemical-free cooking environment. Always avoid abrasive cleaners to prevent damage to the oven’s surfaces.
9.2 Professional Cleaning Services
Professional cleaning services provide a thorough and efficient way to clean your GE oven without the hassle. Expert technicians use specialized equipment and eco-friendly solutions to remove tough grime and food residue. This option is ideal for those who prefer a hands-off approach or need deep cleaning. Many services offer flexible scheduling and ensure your oven is spotless, maintaining its performance and appearance without damaging the finish.
9.4 Steam Cleaning Option
Steam cleaning is an eco-friendly alternative to traditional self-cleaning methods. It uses water to create steam, which loosens food residue without harsh chemicals. This method is ideal for light messes and maintaining your oven’s interior. Simply place a damp cloth inside, run the steam function, and wipe down surfaces afterward. However, it may not be effective for heavy grime. Always check your GE oven manual for specific steam cleaning instructions and model compatibility.
Importance of the User Manual
The user manual is essential for understanding your GE oven’s features, troubleshooting, and maintenance. It provides detailed instructions for safe and effective use of the self-cleaning function.
10.1 Where to Find the Manual Online
The GE self-cleaning oven manual can be easily accessed on the official GE Appliances website. Visit geappliances.com, navigate to the support section, and enter your oven’s model number in the search bar. Manuals are available for download or online viewing, and many include multiple languages for user convenience. This resource is crucial for understanding your oven’s features, troubleshooting, and maintenance.
10.2 Key Sections to Refer to for Self-Cleaning
The GE self-cleaning oven manual includes dedicated sections for the self-cleaning feature. Refer to the “Operating Your Oven” section for step-by-step instructions on initiating the cycle. The “Self-Cleaning Instructions” provide detailed guidance on preparation and safety. Additionally, the “Troubleshooting” section offers solutions for common issues like door locking or error codes. These sections ensure a smooth and safe self-cleaning experience, covering everything from setup to resolving potential problems.
10.3 Troubleshooting Guide in the Manual
The troubleshooting guide in the GE self-cleaning oven manual helps resolve common issues. It addresses problems like the oven door not unlocking after cleaning or error codes during the cycle. The guide provides step-by-step solutions, such as resetting the oven or checking the door lock mechanism. This section ensures quick and effective problem-solving, helping users maintain their oven’s performance and safety without professional assistance.
GE self-cleaning ovens offer a convenient and efficient cleaning solution, ensuring a sparkling kitchen with minimal effort. Follow the manual for optimal performance and maintenance.
11.1 Summary of the Self-Cleaning Process
The GE self-cleaning oven simplifies maintenance by using high heat to burn food residue into ash. Start by removing racks and wiping loose particles. Set the cycle, and the door locks automatically. After cleaning, let the oven cool, then wipe away residue. Ensure proper ventilation and avoid abrasive cleaners for a safe, efficient process. This feature saves time and effort, keeping your oven clean and functional.
11.2 Final Tips for Maintaining Your GE Oven
Regularly clean food spills and check the oven light bulb for optimal performance. Ensure the door aligns properly for even heating and safety. Avoid abrasive cleaners to prevent damage. Follow the user manual for specific care instructions. These practices will extend the life of your GE oven, ensuring efficient and safe operation for years to come.